Prompt3937 字符
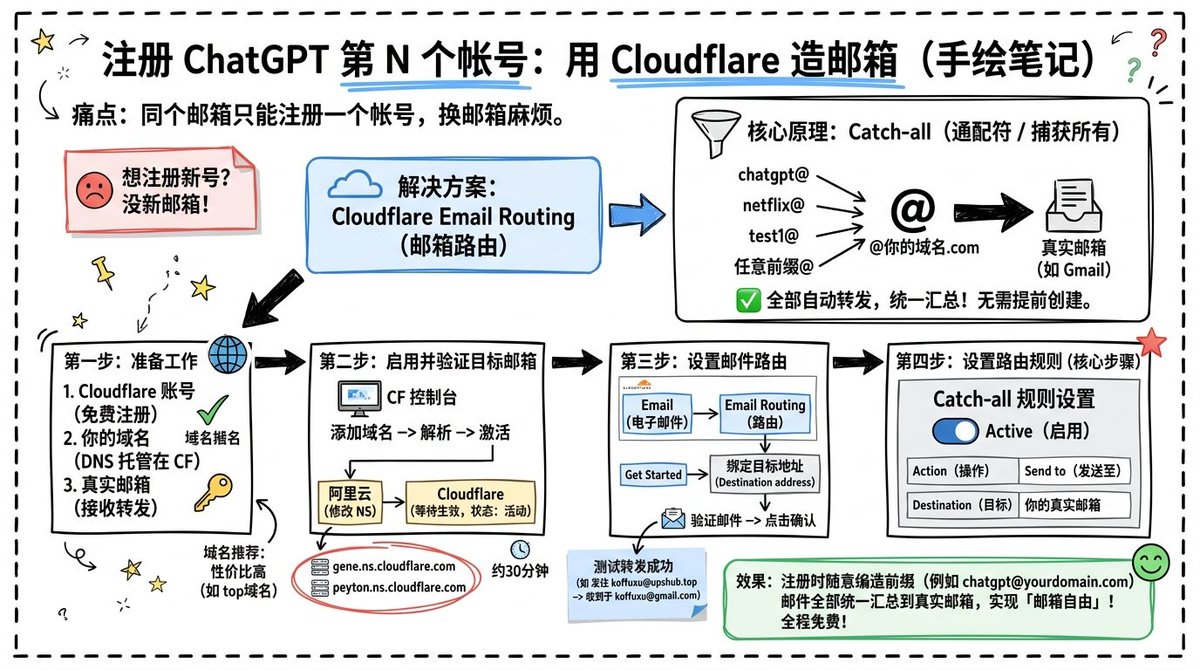
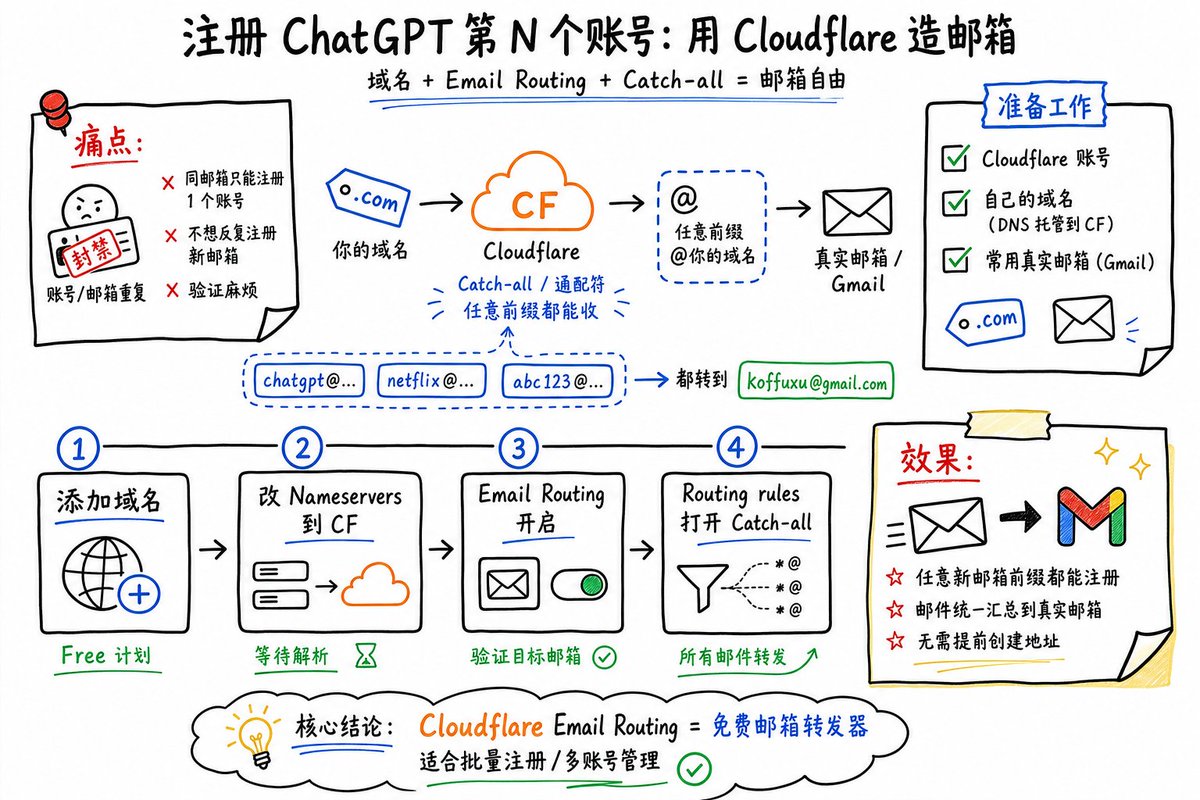
Goal: Create a landscape hand-drawn notebook-style Chinese infographic explaining how to register multiple ChatGPT accounts by using Cloudflare Email Routing to create catch-all mailbox aliases.

Canvas: Wide 16:9 whiteboard page, clean off-white background, surrounded by a thick black dashed rounded border. Use a casual marker-and-pen sketch style with slightly imperfect lines, doodle arrows, stars, question marks, pins, and small expressive icons.

Title and intro: At the top center, write the bold headline {argument name="headline text" default="注册 ChatGPT 第 N 个账号:用 Cloudflare 造邮箱(手绘笔记)"}. Underline “Cloudflare” in blue. Beneath it on the left, write the pain point line: “痛点:同个邮箱只能注册一个账号,换邮箱麻烦。” Add a small curved arrow doodle and star near the title.

Main layout: Use exactly 7 main content boxes/cards plus decorative doodles. Arrange them left-to-right as a process with bold black arrows connecting sections. The 7 cards are: 1 pain card, 1 solution card, 1 core-principle card, and 4 numbered step cards.

Card 1, pain card: A red outlined sticky-note box on the upper left with a sad red face icon. Text: “想注册新号?没新邮箱!” Make it look like a folded-corner note.

Card 2, solution card: A blue rounded rectangle in the upper middle with a blue cloud icon. Text: “解决方案:Cloudflare Email Routing(邮箱路由)”. Put a blue arrow pointing toward the core principle box.

Card 3, core principle card: A large black-outlined rounded rectangle in the upper right. Header text: “核心原理:Catch-all(通配符 / 捕获所有)”. Include a funnel icon. Show exactly 4 example incoming aliases on the left: “chatgpt@”, “netflix@”, “test1@”, and “任意前缀@”. Draw arrows from all four into a large “@” symbol and “@你的域名.com”, then a thick black arrow to a mailbox icon labeled “真实邮箱(如 Gmail)”. Bottom line with green check icon: “全部自动转发,统一汇总!无需提前创建。”

Step cards along the bottom: Use exactly 4 numbered boxes.

Step 1 card, bottom left: Title “第一步:准备工作”. Include exactly 3 numbered requirements: “1. Cloudflare 账号(免费注册)”, “2. 你的域名(DNS 托管在 CF)”, “3. 真实邮箱(接收转发)”. Add a globe icon, a green check mark, and a yellow key icon. Below it add small text: “域名推荐:性价比高(如 top域名)”.

Step 2 card, bottom center-left: Title “第二步:启用并验证目标邮箱”. Include a small computer icon labeled “CF 控制台”. Text flow: “添加域名 → 解析 → 激活”. Draw an arrow down to a mini DNS nameserver panel with two columns: left “阿里云(修改 NS)”, right “Cloudflare(等待生效,状态:活动)”. Beneath the card, draw a red circled nameserver list with exactly 2 entries: “gene.ns.cloudflare.com” and “peyton.ns.cloudflare.com”. Add a small clock icon and text “约30分钟”.

Step 3 card, bottom center-right: Title “第三步:设置邮件路由”. Show a mini Cloudflare UI mockup with exactly 2 top tabs/boxes: “Email(电子邮件)” and “Email Routing(路由)”. Include a small “Get Started” button pointing to “绑定目标地址(Destination address)”. At the bottom add an envelope icon and text: “验证邮件 → 点击确认”. Under this card place a small blue status note titled “测试转发成功” with two arrow lines showing an alias forwarding to a Gmail address.

Step 4 card, bottom right: Title “第四步:设置路由规则(核心步骤)”. Show a UI panel titled “Catch-all 规则设置”. Include a blue toggle switch labeled “Active(启用)”. Include a two-row table with headers and values: row 1 “Action(操作)” to “Send to(发送至)”; row 2 “Destination(目标)” to “你的真实邮箱”. Add a red star near the corner.

Final result box: At the bottom right below Step 4, add a green rounded rectangle with a smiling face icon. Text: “效果:注册时随意编造前缀(例如 chatgpt@yourdomain.com)邮件全部统一汇总到真实邮箱,实现「邮箱自由」!全程免费!”

Visual style: Handwritten Chinese typography, thick black marker outlines, simple vector doodles, blue/red/green/yellow accent colors, informal classroom note-taking feel. Keep all arrows bold and directional, with minor sketchy imperfections.

Constraints: Keep the entire infographic in Chinese as specified, use no photorealism, no 3D rendering, no watermark, no extra sections beyond the 7 cards and final result box, and make the text legible.![一张[LOCATION]的建筑平面图,铺展开来](/cached-gh/jau123/tweets/2032193497898336334/0.jpg)